A slide has 3 text areas:
- the body, which displays the song verse text (or a Bible verse),
- the header
- and the footer.
Area 4: VideoPsalm can display musical chords over the lyrics, this is a 4th text area.
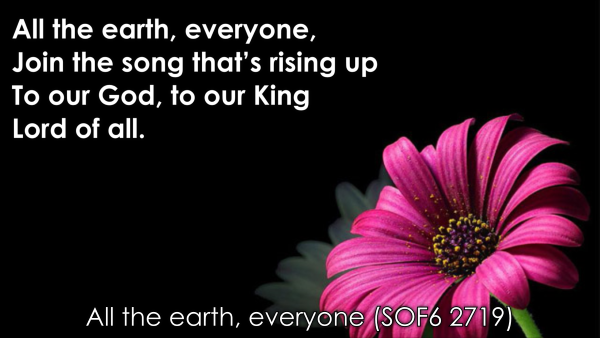
This is how it looks like for a song verse:
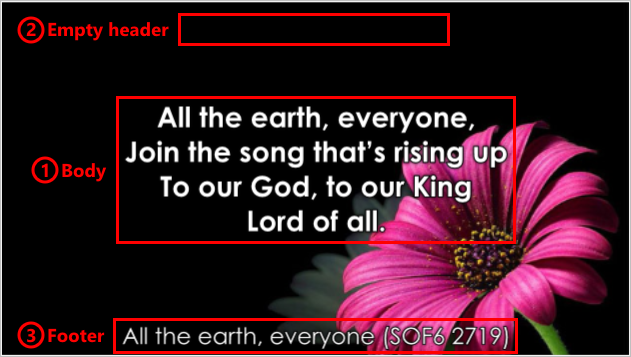
Usually, the header of song verses is not used, and is empty. The footer is used instead.
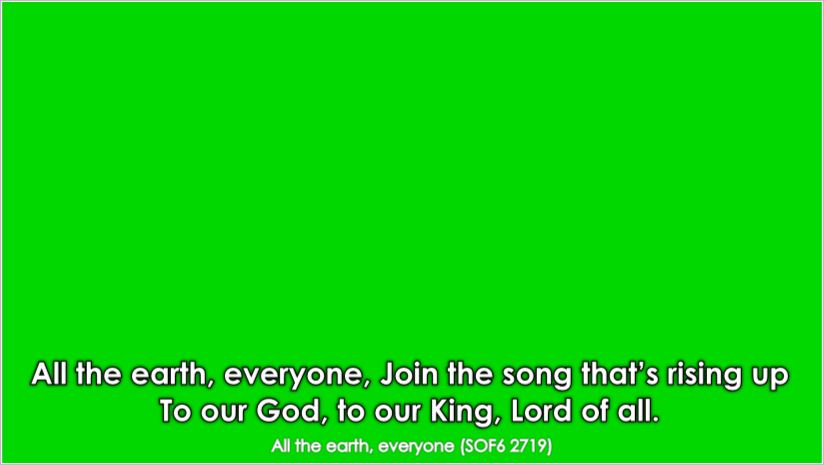
Lower third: This is how it can look like with a green background and a relocated body area:
Lower third: This is how it can look like with a green background and a relocated body area:
This is how it looks like for a Bible verse:
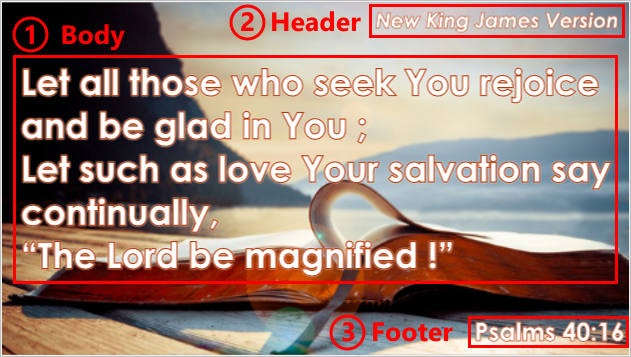
The header and the footer both can display text formatted according to templates/fields related to the body content, either from the song, the songbook or the Bible, etc.
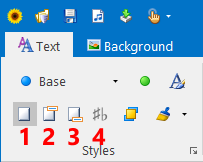
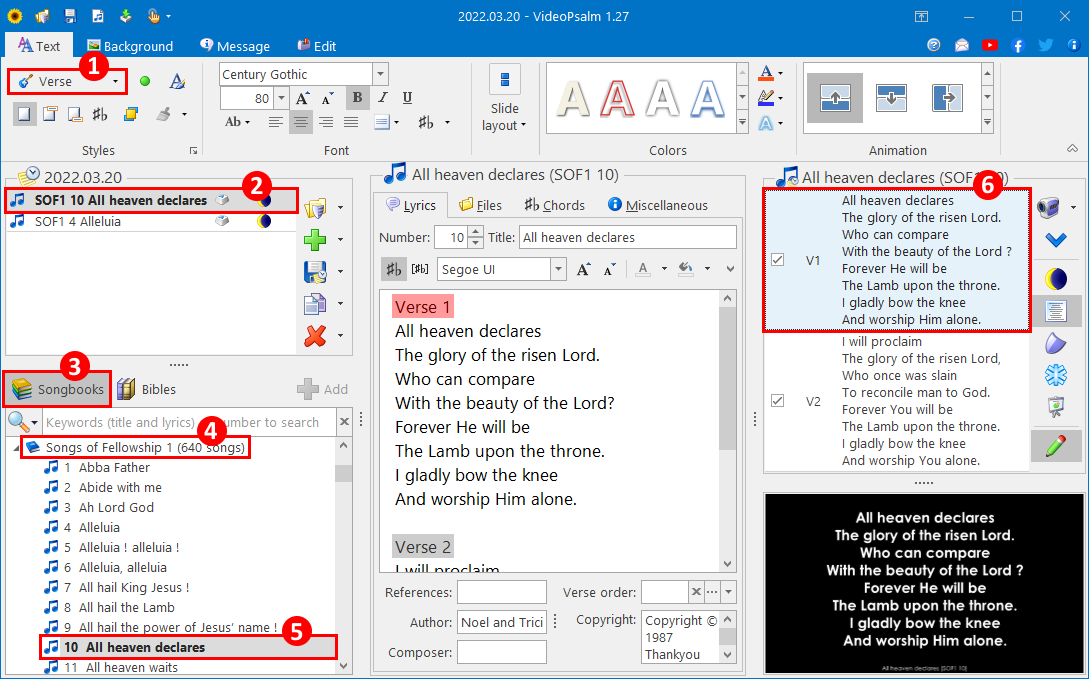
To set the size and the location of the body area:
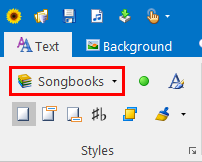
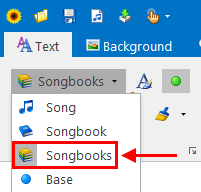
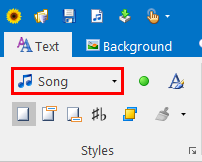
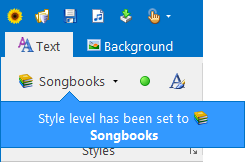
1. Select the “Songbooks” style level (respectively for Bibles the “Bibles” style level):
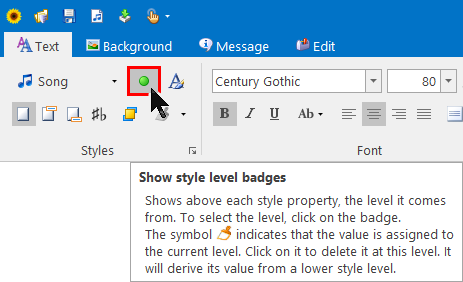
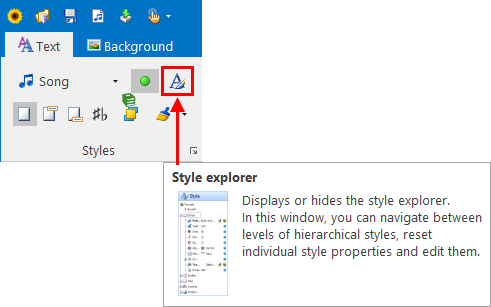
2. Press the highlighted button ("Display the resize rectangle" button):
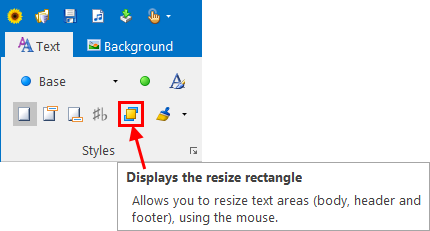
In the popup dialog, use the mouse to resize the body, header and footer area:
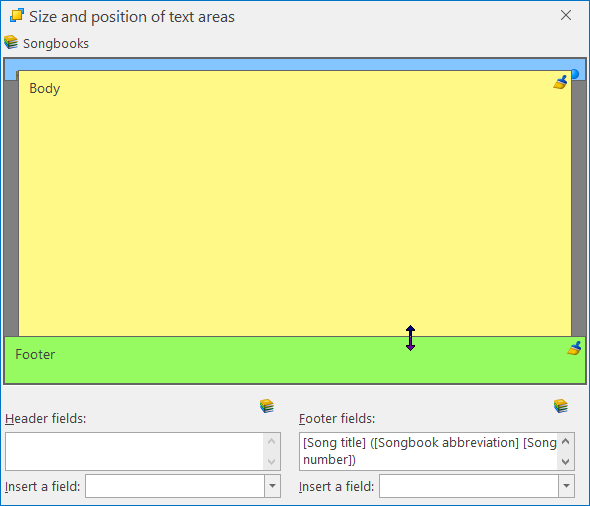
Grab the corners to resize the relocation rectangle.
You can also resize it by grabbing the middle of a segment.
You can also resize it by grabbing the middle of a segment.
Before you move or resize the rectangle, make sure that you do it at the proper style level:
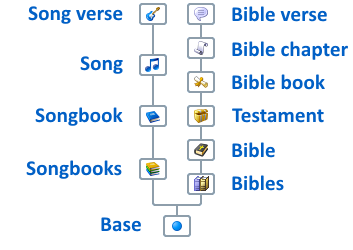
VideoPsalm uses the concept of cascading style attributes, enabling you to define any style attribute at any level: song verse, song, songbook, all songbooks, base.
The flexibility of cascading styles
Automatic style level switching
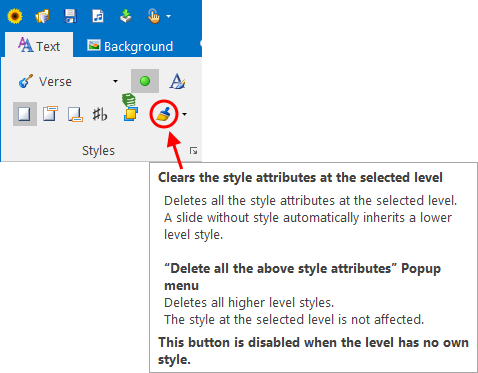
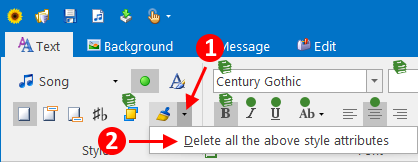
How to correct a style mistake?
How to change the background of a song or a whole songbook - Cascading styles part one
How to assign a background to a song verse or to the whole song - Cascading styles part two
Three methods to display a background/logo between two songs
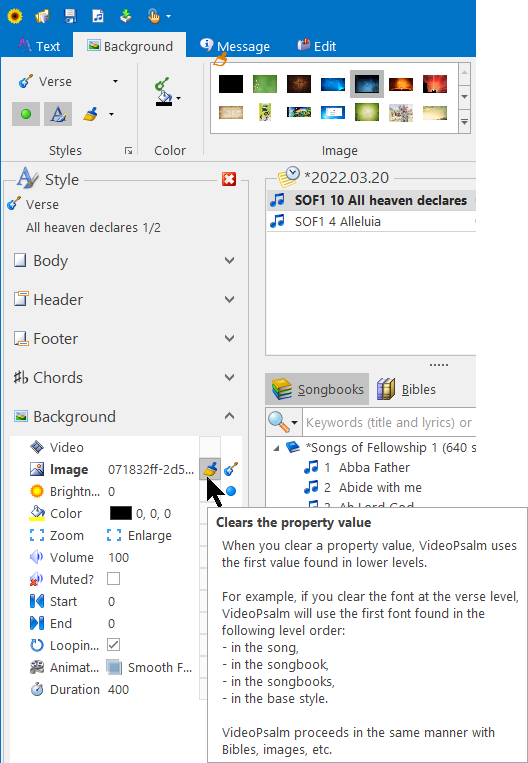
How to remove an image assigned to a song verse
The flexibility of cascading styles
Automatic style level switching
How to correct a style mistake?
How to change the background of a song or a whole songbook - Cascading styles part one
How to assign a background to a song verse or to the whole song - Cascading styles part two
Three methods to display a background/logo between two songs
How to remove an image assigned to a song verse
You may want to adjust the text alignment:
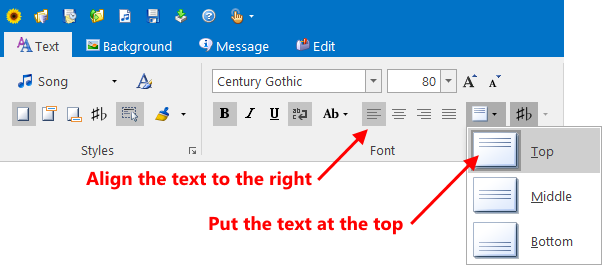
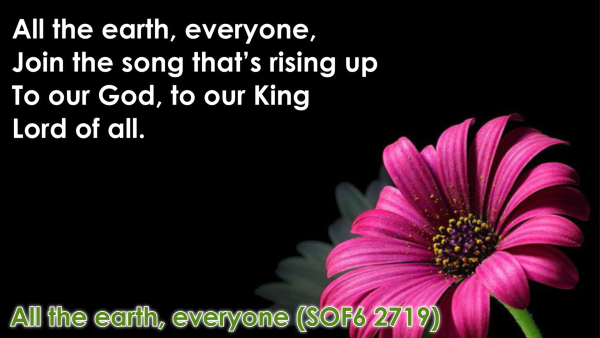
Now this is how your slide looks like:
While the footer rectangle is selected (respectively the header rectangle), the style properties like font, font size, font colors, transition, etc., apply to the footer (respectively to the header).
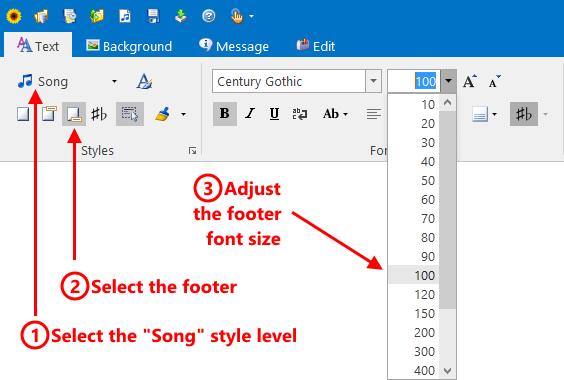
Here below, see a footer with a bigger font size and a different color:
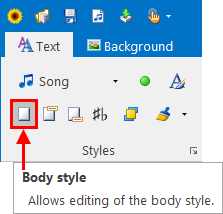
When you are finished with adjusting footer font attributes, don't forget to select the “Body” button again, so that changes that you do to style attributes apply to the body, which is what we do most of the time:
Notes
- The size and location settings, like all style settings, are applied at the currently selected level: “Song verse”, “Song”, “Songbook”, “Songbooks”, “Base”. The same is true for Bibles.
- The preview area instantly reflects the changes that you do to the area size and position.
However the higher style attributes are only reflected after you refresh the slide (you double-click on it).
For the “Songbooks” style level, the higher styles are “Songbook”, “Song” and “Song verse”.
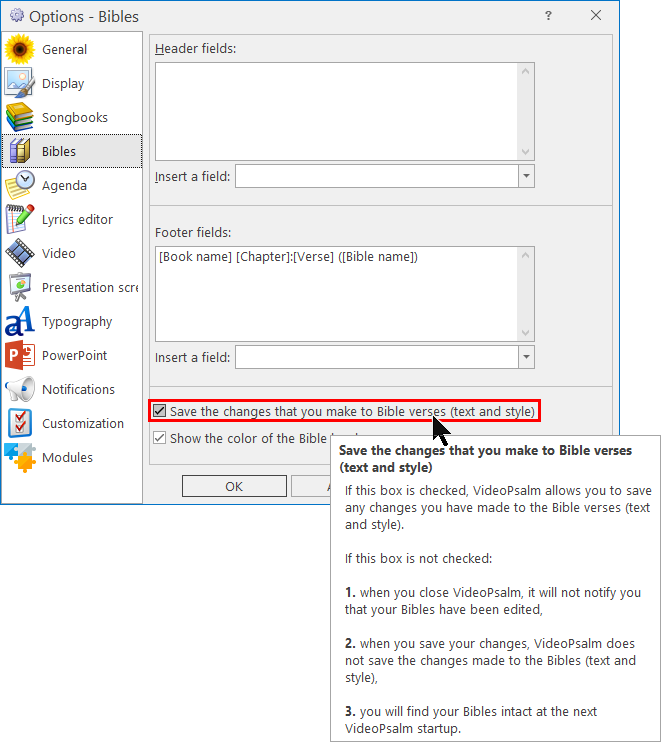
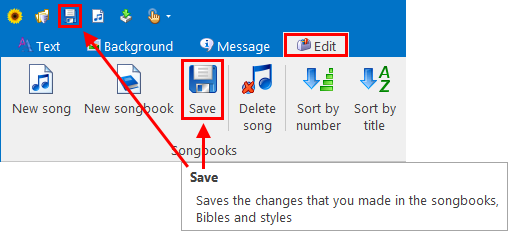
Save Bible changes
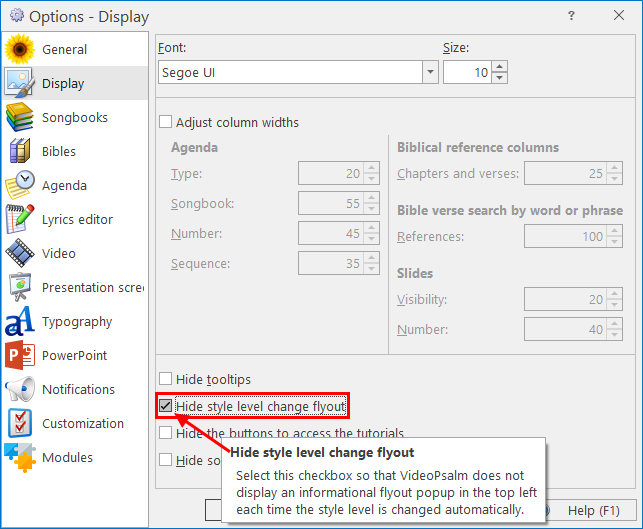
By default, VideoPsalm will not save changes that you do to Bibles, to prevent unexpected changes to the Biblical text. This also applies to the changes that you do to their styles.
Enable the saving of Bible changes in the VideoPsalm options:
By default, VideoPsalm will not save changes that you do to Bibles, to prevent unexpected changes to the Biblical text. This also applies to the changes that you do to their styles.
Enable the saving of Bible changes in the VideoPsalm options:
If you have any question, please ask us via email.


 RSS Feed
