• Home
    • Features
    • Testimonials
  • Download
  • How to
    • Blog
    • Help >
      • Videos tutorials
      • Quick Start >
        • How to get songbooks
        • How to get Bibles
        • How to display song lyrics and Bible verses
        • How to import songs and Bibles from other sources
        • How to add/edit songs and announcements
      • Main features
      • Why two modes
      • “Viewer” mode >
        • Songbooks and Bibles
        • The agenda
        • The slides
        • The preview area
        • The keyboard shortcuts
      • Search for >
        • Songs
        • Bible verses
      • Display >
        • A slideshow
        • A PowerPoint
        • A video
      • “Edit” mode >
        • Hierarchical styles
        • Style explorer
        • Edit a song
      • Screen resolution and ratio
      • Import assistant
  • Forum
  • Contact
  • About

VideoPsalm


The flexibility of cascading styles

3/7/2022

2 Comments

 
This article describes where and how to configure in a few clicks the text and background displayed on the screen.
Use all the power of VideoPsalm's cascading styles to quickly create clear and attractive presentations.

Examples of what cascading styles can do:
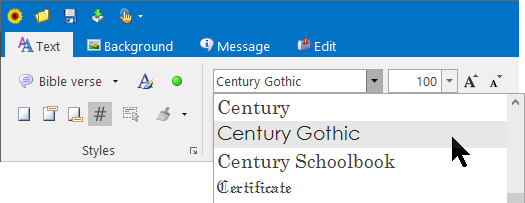
  • Change the font for all texts at once or just for one verse.
  • Assign a background image to all verses in a chapter or to all Bibles.
  • Left-align the text of all verses of a song, or only of a particular verse.
  • Adjust the information displayed in the footer (author, copyright, etc.) for a particular songbook.
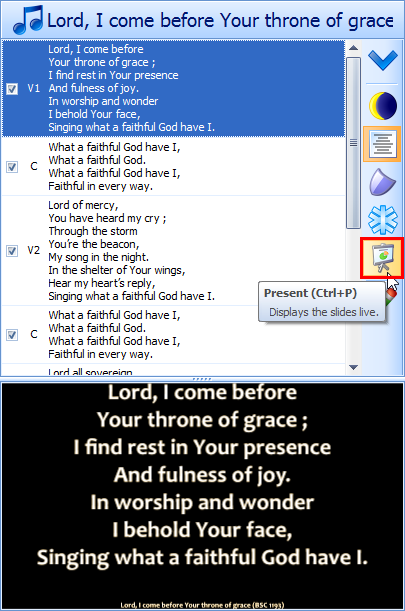
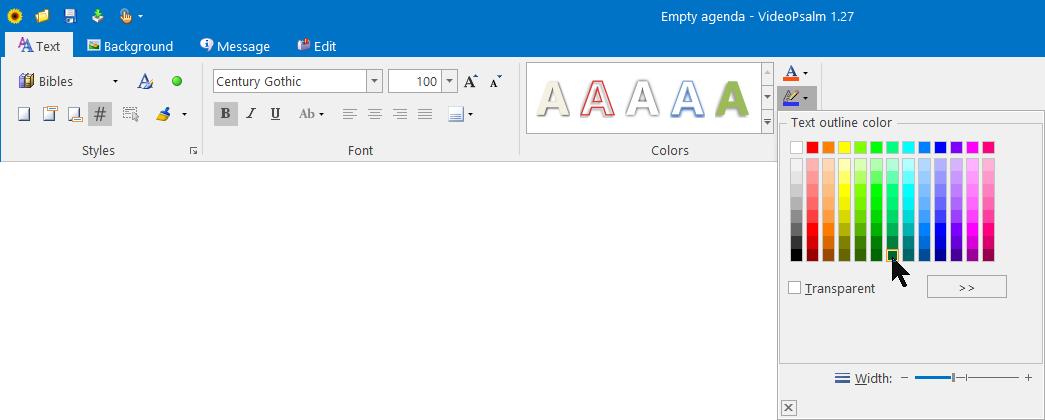
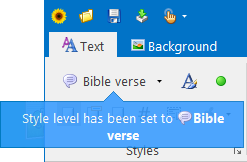
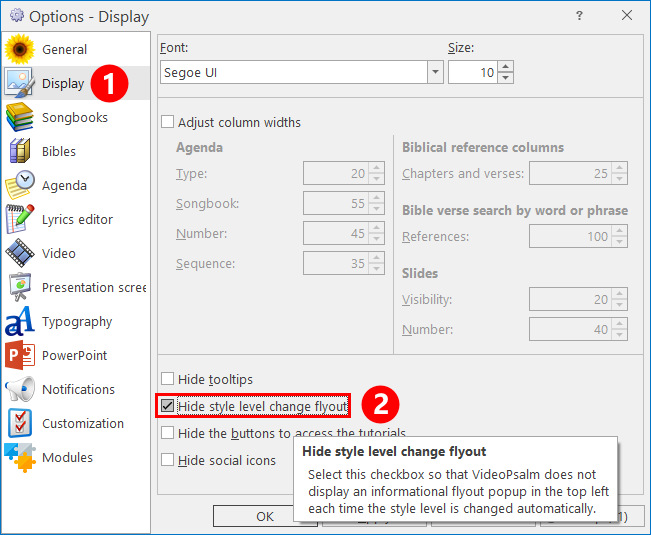
Tip  It is important to keep an eye on the current style level.
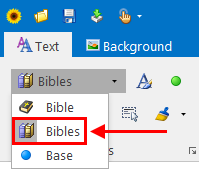
The current style level is indicated in the toolbar, at the top left.
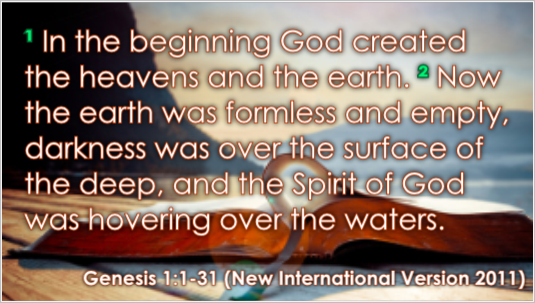
In the screenshot below, the style level is set to “Verse”:
Picture
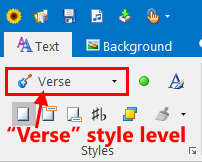
Subsequently, for as long as the style level remains on “Verse”, all style changes that you do will be assigned to the selected verse (and only to that verse).

Which style level to use?

Suppose you want to assign the same background to all verses of a song.
Then, make sure that the style level is set to “Song”.
The new background will be applied to the song (to all its verses).

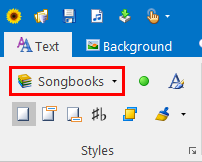
Available style levels for songbooks:
Icon Style level Validity range Priority
Base For all slides Lowest priority
Songbooks For songbooks (i.e. not for Bibles)  
Songbook For the selected songbook  
Song For the selected song  
Song verse For the selected song verse Highest priority

Available style levels for Bibles:
Icon Style level Validity range Priority
Base For all slides Lowest priority
Bibles For Bibles (i.e. not for songbooks)  
Bible For the selected Bible  
Testament For the selected Testament  
Bible book For the selected Bible book  
Bible chapter For the selected Bible chapter  
Bible verse For the selected Bible verse Highest priority

Let's see some uses for the style levels:

The “Base” style

​Use the “Base” style to define the global defaults.
Picture
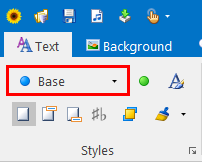
The “Base” style allows you to define the default attributes for all slides, for song verses, Bible verses, etc.
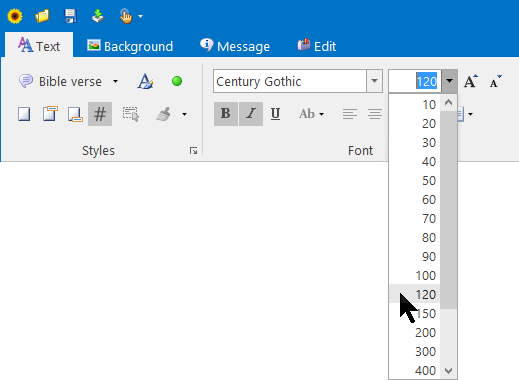
Set a default font, font size, color, text margins, and transitions at this level.
Important
​
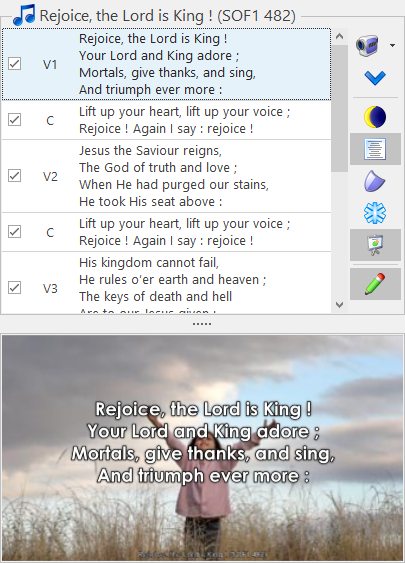
The background of the “Base” style must be chosen carefully.

This background is displayed when the screen is “off”.
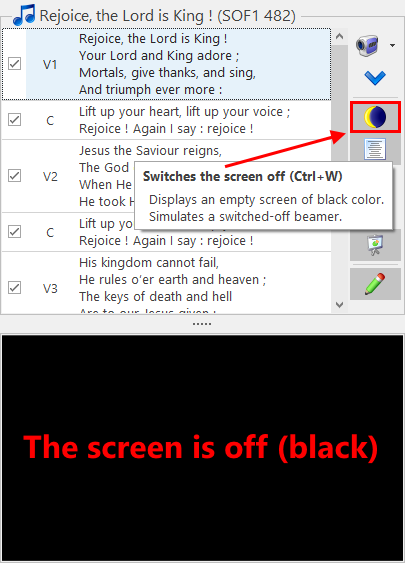
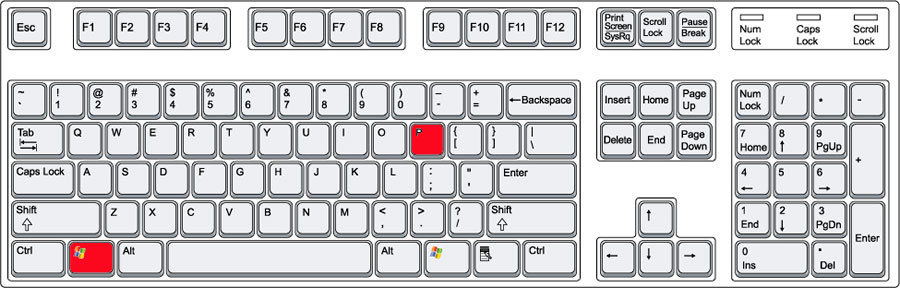
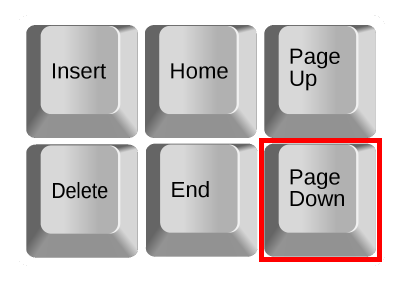
The screen is usually turned off between two songs or Bible verses, or when you manually “turn off” the screen:
Picture
Picture
Normally, you will want to assign a solid black background to the “Base” style.
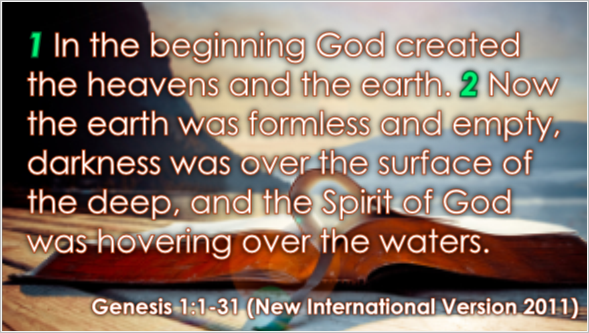
Or you may want to display a logo:
Picture
To display your church logo whenever the screen is switched off:
1. Assign the church logo to the “Base” style level background.
2. Assign a different background to the “Songbooks” style level. This way, each song verse will get displayed with the songbooks style background (and not with the “Base” style background).
3. Similarly to the songbooks, assign a different background to the “Bibles” style level.
Additional read
Three methods to display a background/logo between two songs


The “Songbooks” style

Picture
It is useful to assign a generic background image to all songs.
That way, all song verses will get displayed with this default background, as far as it is not replaced at a higher style level (“Songbook”, 
“Song”, “Verse”).
You may also want to adjust the margins of the body, header and footer.
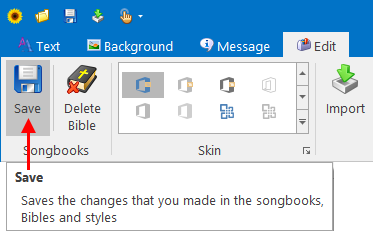
Additional read
Change the background image every month

The “Songbook” style

Picture
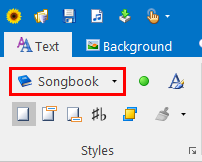
Normally you won't have to adjust style attributes here, unless it is a “Bible verse” songbook or an “Announcement” songbook.
Additional read
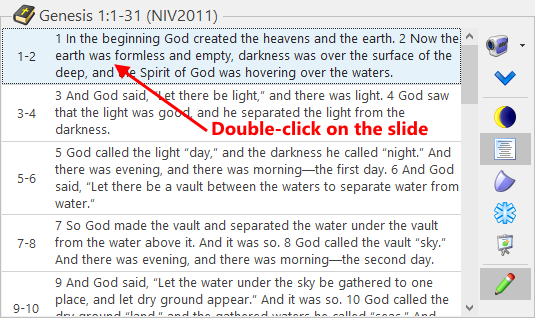
How to edit Bible verses and format individual words

The “Song” style

Picture
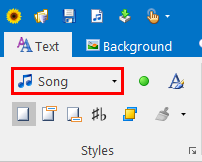
Sometimes you will want to assign a specific background to a song.
All the verses of the song will get displayed with this background, except those that have a specific background.
Remember that the “Verse” style level has the highest priority.

The “Verse” style

Picture
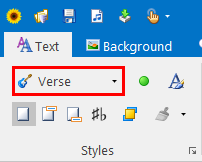
This style has the highest priority. Its settings override the lowest style level attributes.
​Sometimes you will want to assign a specific background to a song verse, or change the alignment of its text, etc.

2 Comments

Connect VideoPsalm to a video-projector and setup your monitors

3/6/2022

179 Comments

 
This topic describes how to select the monitor where VideoPsalm outputs its presentation.
Picture
There are 3 steps:
1. Setup Windows to recognize your monitors.
2. Setup VideoPsalm to output to the proper monitor.
3. Additional settings.
​

Step 1 - Setup Windows to recognize your monitors

By default, Windows is configured to display your desktop on all the monitors that are plugged to the PC.
This mode is called “Duplicate the desktop to the other monitors”.
However, the recommended mode for VideoPsalm is “Extend the desktop to the other monitors”, so that you can control VideoPsalm on the first monitor, while the presentation is displayed on the second monitor (or any other monitor you may have).
To switch to “Extend” mode, use the built-in Windows feature that enables you to extend your desktop to the video-projector.

One easy way to achieve this is to press the “Windows” + “P” keys...
Photo
... and choose "Extend the desktop to the second screen" option:
Photo

For detailed instructions and other tips, follow this “Windows Central” tutorial.
​

Alternate method:

  • Press the "Win+I" keayboard shortcut.
  • Open System -> Display.
  • Select "Extend these displays" in the "Multiple Displays" drop-down:
Photo
This second method brings additional options to you, mainly:
  • Set the resolution of each monitor, in particular the resolution of the presentation screen.
    If necessary, you can improve the rendering speed of your presentation by reducing its resolution.
  • Drag and drop a monitor to the right or the left, to rearrange them.​
​

Step 2 - Set VideoPsalm to output to the proper monitor

This is available starting with version 1.27.
1. Open the VideoPsalm options and select the “Presentation screen” settings:
Picture
2. Select the checkbox for the screen that is your presentation screen.
or
3. Select the monitor in the drop-down.

VideoPsalm will instantly switch to the new presentation screen.
Confirm with the “OK” or “Apply” buttons.
​

Step 3 - Additional settings

Disable the taskbar on the second monitor/video-projector

On Windows 8 or later, you will want to disable the taskbar on the presentation screen:
  • Right-click on an empty spot on the taskbar. 
  • Select "Properties". 
  • Deselect the box next to "Show taskbar on all screens":
Photo
Note  These options only appear when you have more than one monitor plugged into your PC.
​

Disable Taskbar Thumbnail Preview in Windows 11/10

By default, your Windows 10/11 is set to show the selected window when you hover with your mouse over a task bar application thumbnail. This is what Microsoft calls "Aero Peek".
You want to disable this "feature" on the PC that you use to present a presentation:

1. Press the keyboard "Window" key.​
This pops out a dialog (called the "start menu").

2. Type-in following text in the search box:
Performance
and select the "Windows performance options" application.
​
​This opens following dialog:
Picture
In the "Visual Effects" tab (the first one), uncheck the "Enable Peek" checkbox and click "OK".
​
Alternatively

1. Use the Windows Registry editor.

2. navigate to the following folder:
HKEY_CURRENT_USER\Software\Microsoft\Windows\DWM

​3. Set following key to 0
EnableAeroPeek = 0
​

Alternate method to move the VideoPsalm presentation to another screen

By default, VideoPsalm shows its control window on the main monitor and displays the presentation on the second monitor.
If ever you want to display the presentation on the first monitor, simply drag the VideoPsalm control window, with the mouse, to the second monitor: VideoPsalm will then “chase” or “push” the presentation to the first (or next) monitor. This works identically in a configuration with three or more monitors.
​

To start the VideoPsalm presentation

To start the presentation with the first agenda item, press the “F5” key:
Picture
This will have following effects:
1. If the presentation screen is not opened, it will display it.
You can display the presentation screen by pressing the “Present” button, located to the right of the control screen:
Picture
2. VideoPsalm will select the first agenda item, ready to advance to the first slide.
​

To advance the presentation

To advance the presentation, press the "Down" key. The "Right" key works too, as well as the "Page Down" key:
Picture
Picture
Alternatively, you can use any standard PowerPoint clicker:
Picture
Please use the contact form if you have any question.
179 Comments

Set the Bible verse number color, size and font

2/21/2022

0 Comments

 
This topic describes how to set the Bible verse number color, alignment, size and font.

By default, VideoPsalm displays the verse number with the same style as the text:
Picture
To make verse numbers stand out, highlight them in another color, size and font:
Picture
First, make sure that you set the style level to "Bibles":
Picture
That way, all style changes that you do will be assigned to the "Bibles" style level, impacting every verse of every Bible (unless specified differently at a higher style level like "Bible", "Book", "Chapter" or "Verse").

Make sure that the Bible verse numbers get displayed:
Picture
Decide if the Bible verse number must be displayed, even when for single verse:
Picture

Adjust the Bible verse font and color style

Select the style settings for the Bible verse number:
Picture
From now on, all style changes that you do will be assigned to the Bible verse numbers.
Adjust one of the following style attributes:

The font
Picture
The font size
Picture
Important:  The font size of the Bible verse numbers is expressed in percentage of the Bible verse text.
For example:
  • To display the Bible verse number in the same size as the verse text, set its size to 100 (100%).
  • To display the Bible verse number a bit smaller than the verse text, set its size to 80 (80%).
Bold, italic and underline
Picture
Note:  The horizontal alignment makes no sense for the Bible verse number.
The corresponding buttons are disabled.
Vertical alignment
Picture
Aligned to the top
Picture
Aligned to the middle
Picture
Aligned to the bottom
Picture
Color of the Bible verse number
It is possible to set the color of the number text, and its outline.

Color:
Picture
Outline color:
Picture
The shadow color is always taken from the Bible verse text.
It is not possible to set the number of the Bible verse to a specific shadow color.
The corresponding button is disabled.
The style changes are not reflected automatically in the preview.
To force VideoPsalm to render the Bible verse numbers with your new style, double-click the verse in the slide panel:
To refresh the preview area, double-click the slide:
Picture
Refreshed slide
Picture
When you are finished, don't forget to select the "Body" style again:
Picture

And save your changes:
Picture
Important  While doing style changes, you may inadvertently change a style attribute at a "Bible verse" level.
Usually, this is not wanted, however it may go unnoticed.
When you save your changes, if VideoPsalm offers to save the "Bibles" style only, it means that you correctly did all your style changes to the "Bibles" style.
If there are additional changed items in the list of items to save, it means that you inadvertently changed some style attribute at its level. This can easily happen, because the style level is automatically changed to for example ​"Bible verse" when you click a Bible verse.
The changes to the "Bible" (New International Version 2011) is possibly due to some style changes to a "Bible verse":
Before saving, deselect this "Bible" item:
Picture
Picture
To let you know when the style level is automatically changed, VideoPsalm displays a flyout panel under the style level selector:
Picture
This will help you realize that the following style changes may be applied to the wrong, unexpected style level.

If necessary, deactivate the display of the flyout in the VideoPsalm options:
Picture
0 Comments
<<Previous
Forward>>

    Categories

    All
    Bible
    Bilingual
    CCLI
    Language
    SongSelect
    Translation

    Archives

    December 2022
    August 2022
    June 2022
    March 2022
    February 2022
    January 2022
    December 2021
    April 2021
    July 2020
    June 2020
    May 2020
    December 2018
    August 2017
    July 2017
    January 2017
    October 2016
    July 2016
    June 2016
    July 2015
    June 2015
    May 2015
    February 2015
    January 2015
    November 2014
    September 2014
    July 2014
    June 2014
    May 2014
    April 2014
    March 2014
    December 2013
    November 2013
    September 2013
    August 2013
    June 2013
    May 2013
    April 2013
    February 2012

    RSS Feed

Powered by Create your own unique website with customizable templates.