1. Download the latest VideoPsalm Installation Package from this page (click the first “Download” button at the top).
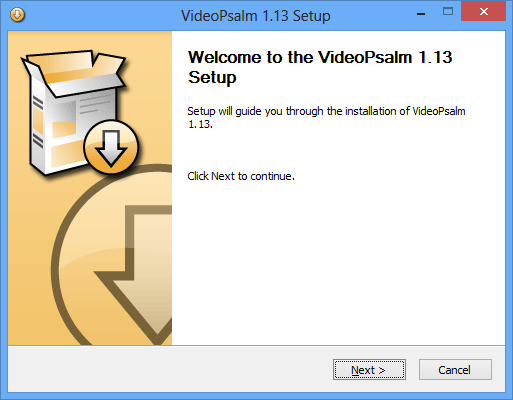
2. Install VideoPsalm on your PC. If Windows emits some warnings, dismiss and bypass them.
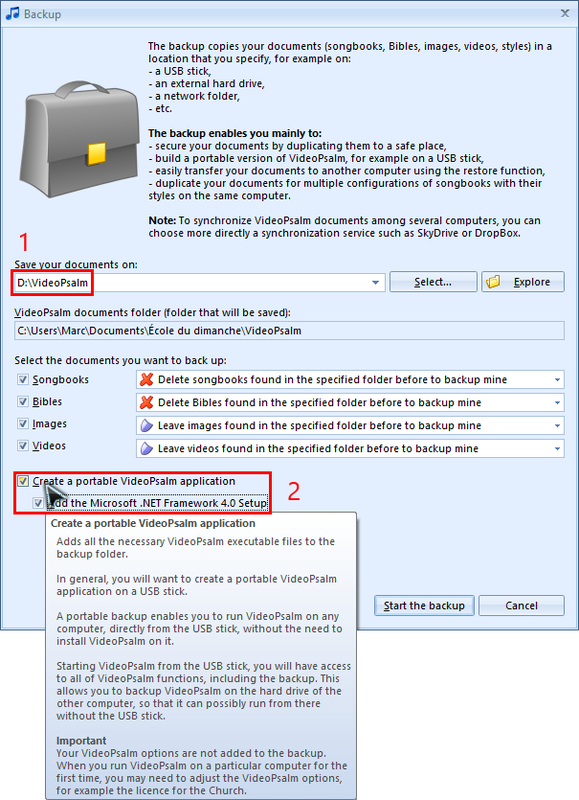
4. Open the VideoPsalm backup assistant:
If the folder doesn't exist, it will be created automatically during the backup.
Select also the following check-boxes (See point 2 in the image bellow):
- Create a portable VideoPsalm application
- Add the Microsoft .NET Framework 4.0 Setup
You now have a portable version of VideoPsalm on your USB key.
When plugged into another PC, you can start VideoPsalm from it, without needing to install it.
Simply open the USB key folder where you stored VideoPsalm, and start it by double-clicking on its application icon.
In case the PC where you start VideoPsalm doesn't have the Microsoft .NET Framework installed, install it first.
You will find the Microsoft .NET Framework Setup located in this same USB key folder.
7. If you want, go one step further and install VideoPsalm onto this other PC via the USB key.
Simply use the Windows file explorer to copy the VideoPsalm USB folder onto the PC's hard drive, for example on the “Desktop” or in “My Documents”.
You can then start VideoPsalm from this new location, and won't need the USB key on this PC anymore.
Alternatively, to copy the VideoPsalm folder from the USB key to the PC's hard drive, you can again use VideoPsalm's integrated backup function, to backup your USB VideoPsalm onto the PC:
- Start VideoPsalm from the USB key.
- Open the VideoPsalm backup assistant.
- Specify a folder located into your PC “My Document” folder.
- Make sure to select the check box “Create a portable VideoPsalm application”.


 RSS Feed
